Grape juice would be my one and only choice for a bottle each year. It’s so delicious! It is so much better than store-bought grape juice. Concord grapes ready to be juiced
It is hard work to juice grapes. Although it takes many hours, the effort is well worth it. Here are 11 tips for juicing grapes.
#1: Make sure you have the right equipment
To juice grapes, you will need a juicer. You can find many fancy juicers online. You can also find one at yard sales or in classifieds. It worked great when I bought it at a yard sale. It is much easier if the handles are located in the main sections.
It is also a good idea to use two juicers simultaneously. This speeds up the process because you don’t have to wait for one juicer and can fill jars with another while you wait.
#2: Make grape juice outdoors
It takes a lot of time to juice grapes, and your stove heats up the whole time. It can get very hot and messy. Grape juice stains everything.
My juicer is outside on our Camp Chef camping stove.
Two burners are included in the Camp Chef camping stove. This stove is much more efficient than a stove in the kitchen and produces a lot more juice. Then, I simply take my garden hose to wash everything. It’s easy to clean up.
#3: Leave stems, all
It doesn’t take much effort to remove stems from grapes. During the process, everything is sterilized. This will save you time.
My cute boys are helping me put the grapes (stems and all) into the steamer.
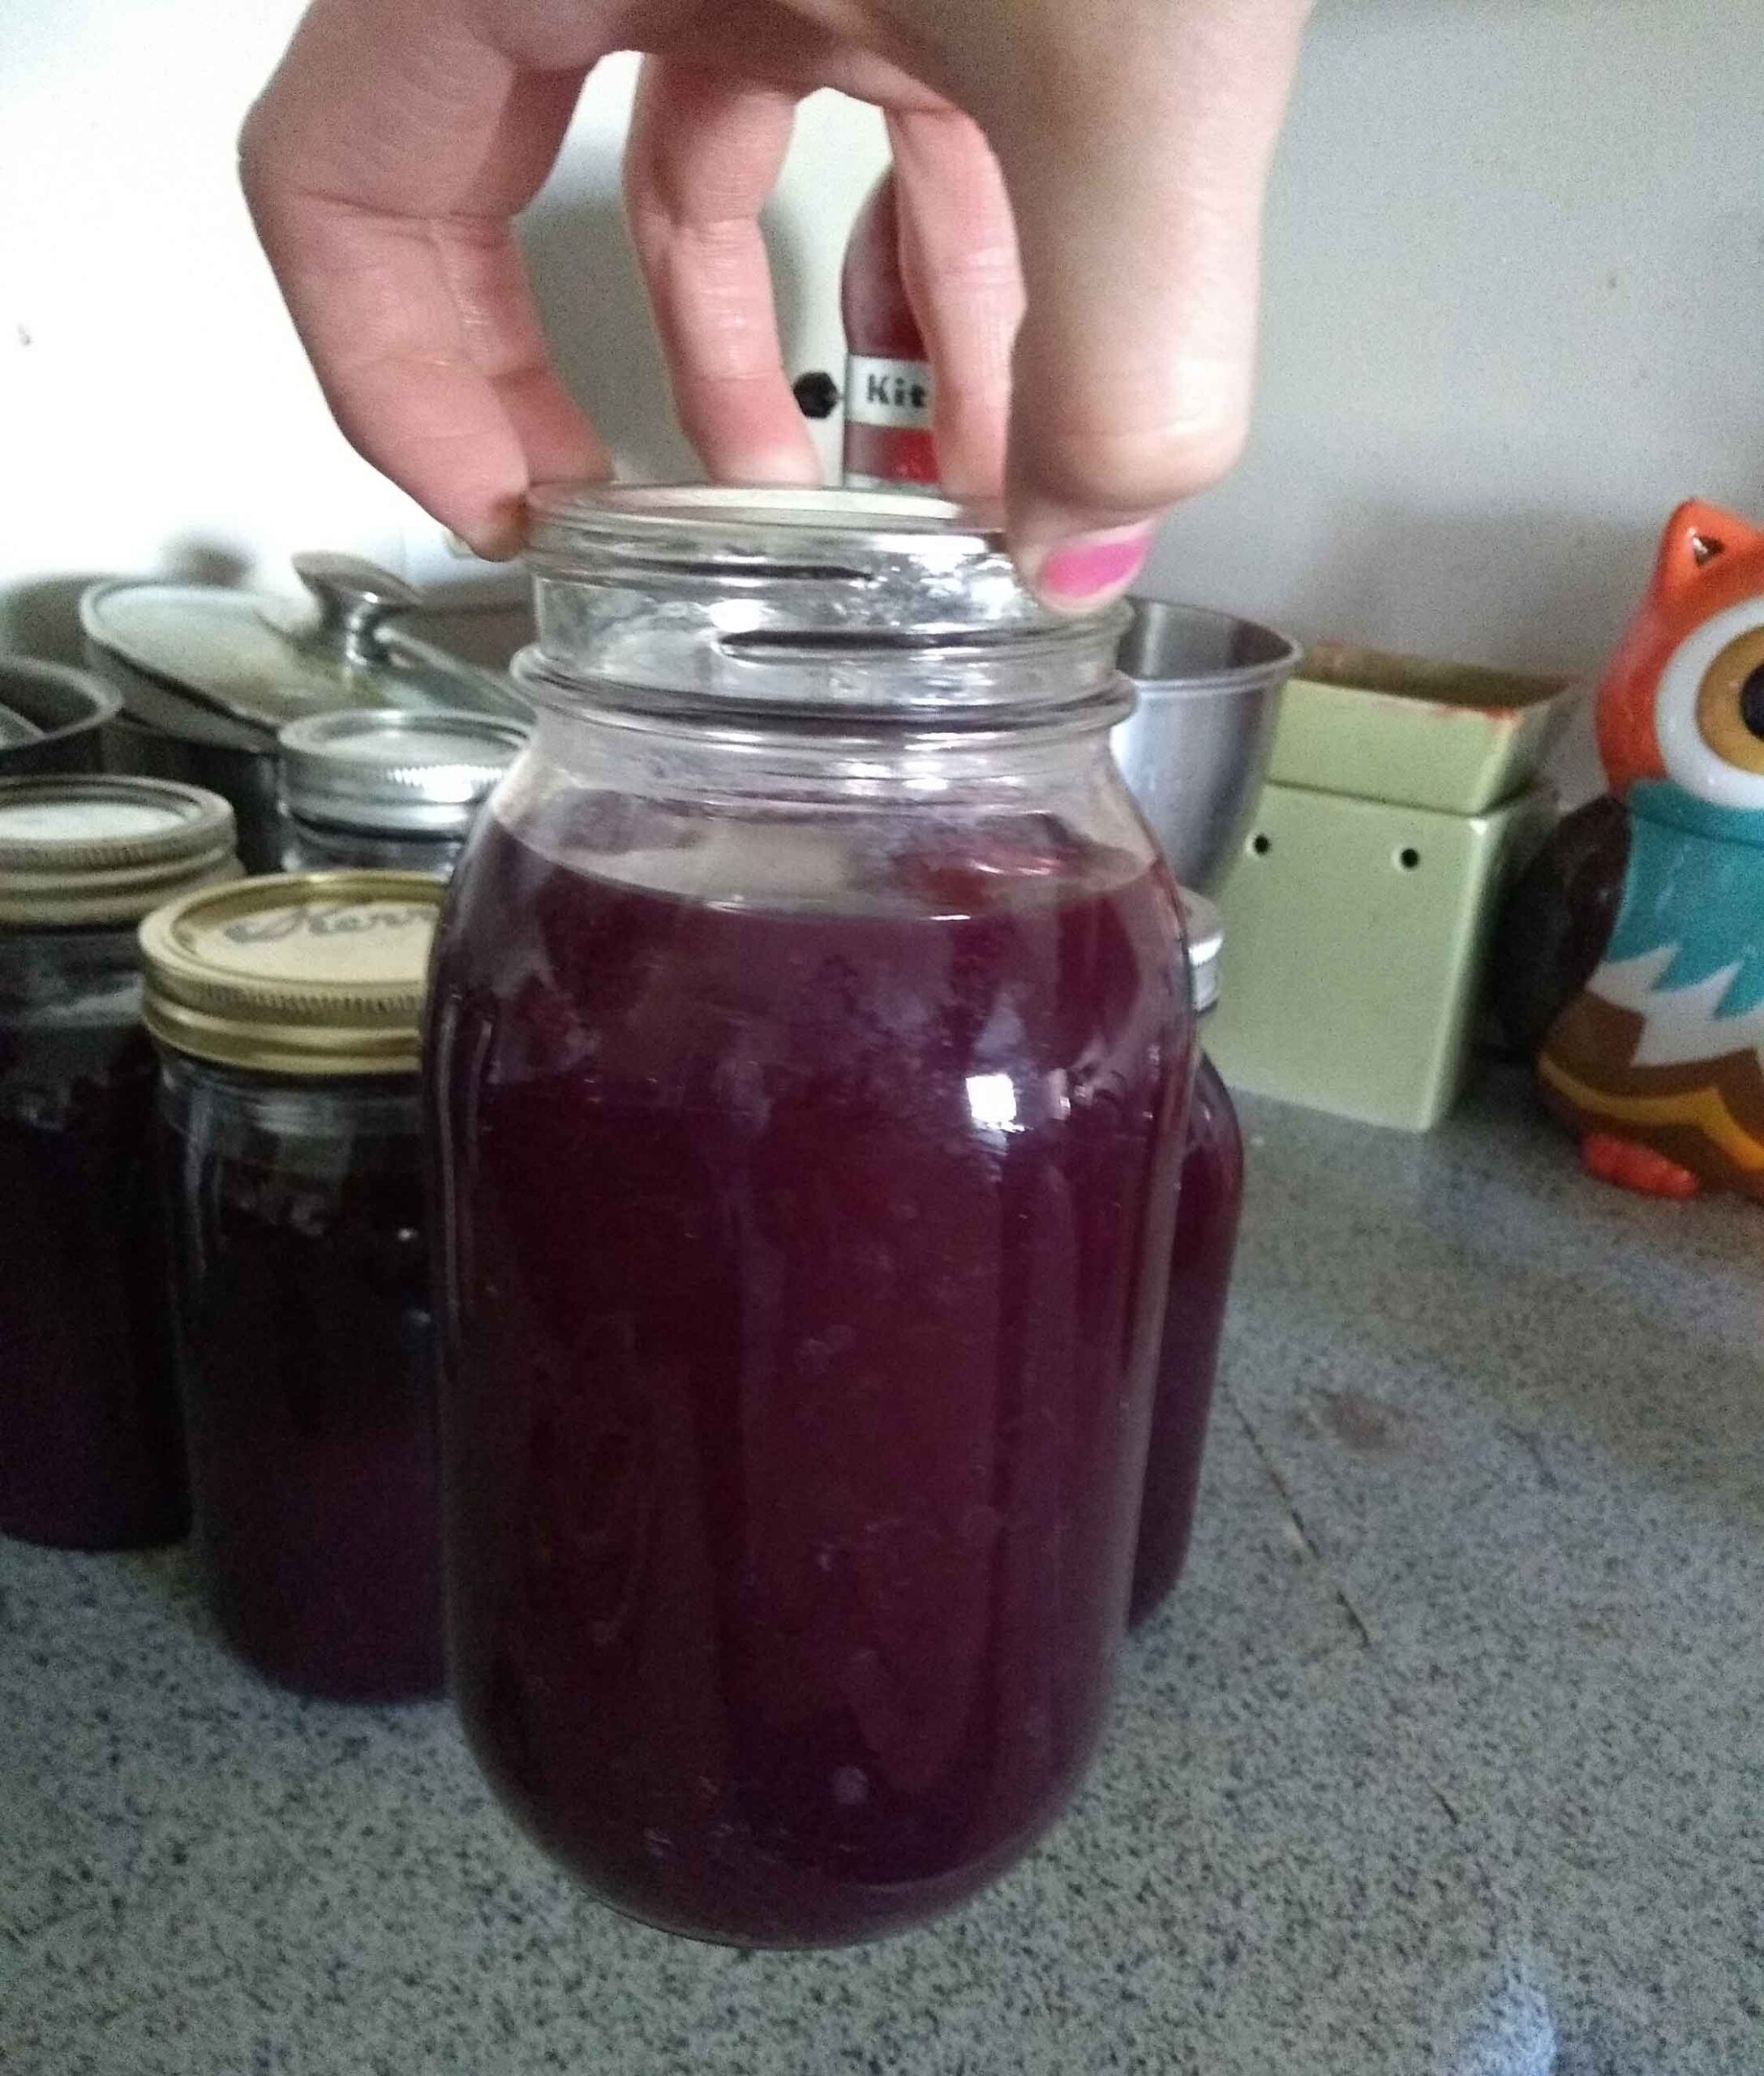
#4: Make sure to heat your lids very well
Canning lids that are not heated enough will not seal the jars. Grape juice does not need to be water-bathed. As long as it is hot enough to seal the lids on the jars, it will work. Your lids should be heated in hot water for at least 10 min, but not boiling. Keep your lids warm until you are ready to use them.
A heated lid is placed on a jar of grape juice.
#5: Water shouldn’t boil
The steam that is produced by the grape juicers is created by the water in the pan. If you aren’t careful, the water in the cooking pan will boil and cause damage to the bottom of your saucepan. I’ve had this happen before and was able to stop it from causing permanent damage.
My cooking pan that boiled out its water.
#6: Be careful!
Be careful when filling each jar of hot juice. Sometimes, the clamp can be difficult to open, or the steam from hot juice could burn your hands. It is not a good idea to drop the jar or spill hot juice all over yourself. You can also make a huge mess.
The aftermath of my clumsiness. Aaaaaargh!
#7: Divide and conquer
It is possible to bribe someone to help you. This makes the whole process much faster. It might be necessary to give up some of your grape juice.
#8: Strain steamed grapes
When your steamer stops producing juice, drain the grapes from the steamer and place them in a strainer. The strainer should have very fine holes. The juice will continue to drain into the bucket. To push out more juice, you can use a potato mashing machine. It can drip for 20 to 60 minutes, depending on your patience.
Steamed grapes are dripping through a strainer into a bowl.
#9: Recycle steamed grapes
Do not throw away your steamed grapes. You can use them to fertilize your garden. It is a wonderful fertilizer.
#10: Water bath lids that don’t seal
Many times, there will be multiple lids that won’t seal due to the juice not being hot enough or the lids not being heated enough. After the jars have cooled completely, take the lid off and test it. You can water bathe the jar for five minutes if the lids come off.
Testing the seal on my grape juice jars.
#11: Juice within one year
Grape juice will lose its sweetness and taste if it is left on the shelf for too long. It can be kept for about one year. Let’s be real. Our grape juice has never been a problem since before the year.
These are some helpful links for making homemade grape juice.
- Making grape juice without a steam juicer
- Step by step grape juice making with a steamer
- How can I make grape juice
- Preserving grapes- Utah State Extension
- Basics of Canning for Food Preservation